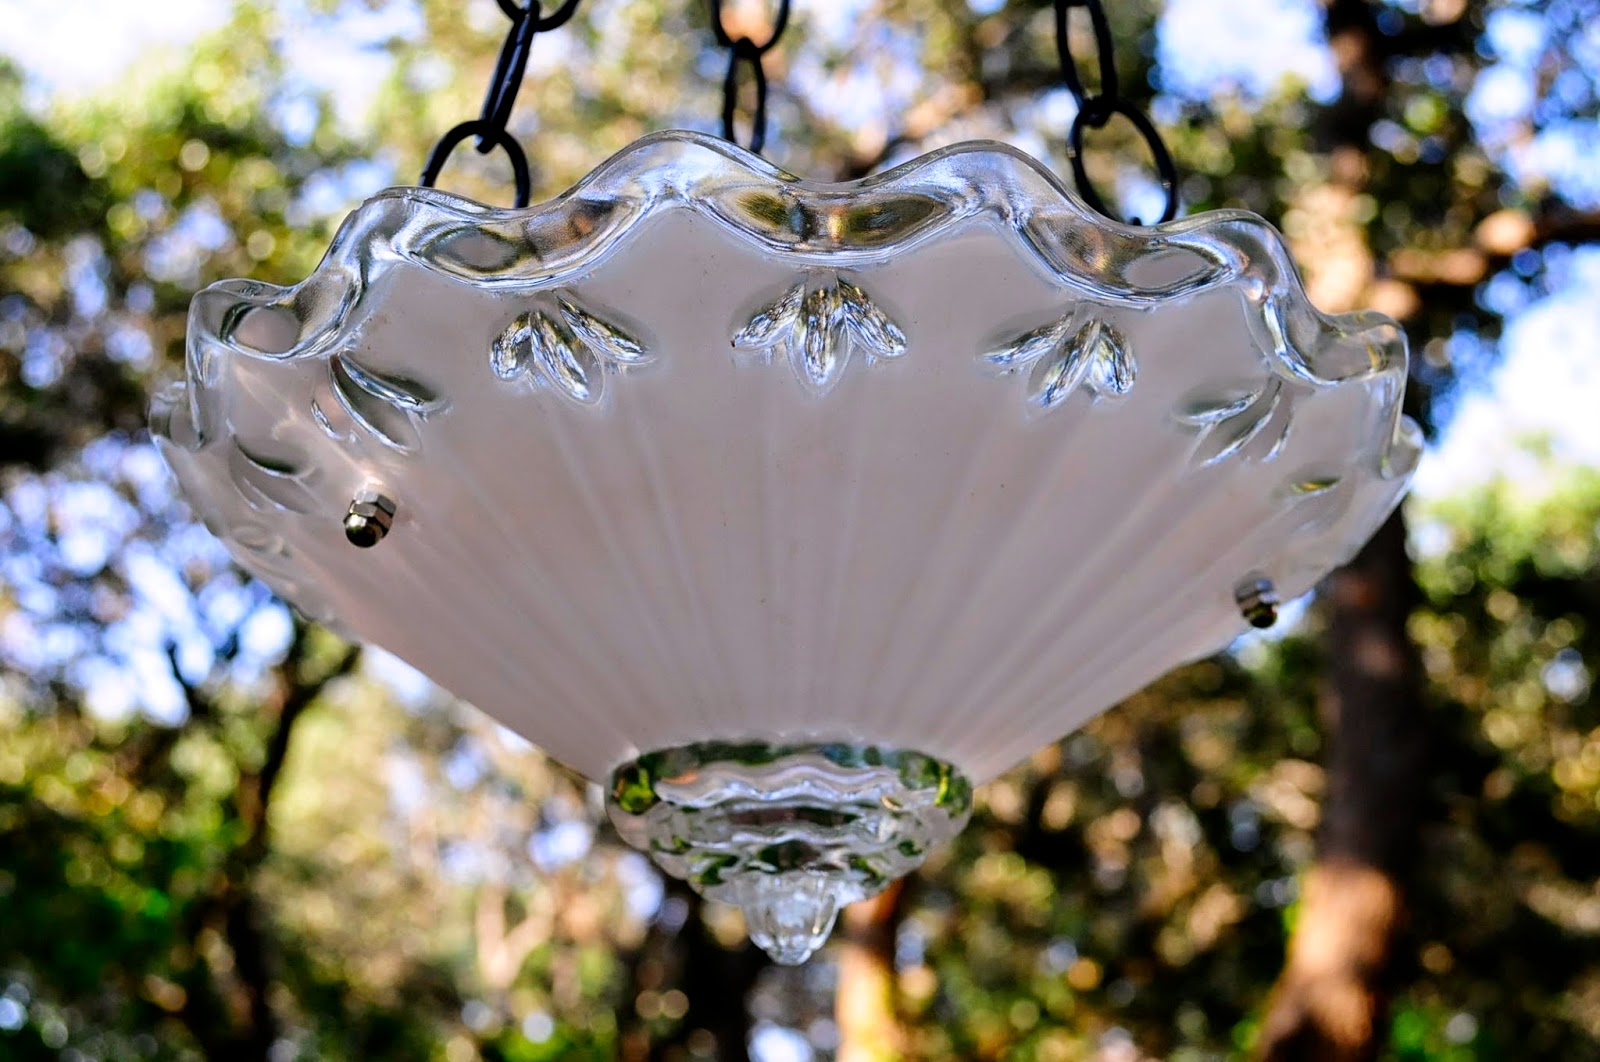
Saturday, January 31, 2015


StellaErwins™
Presents:
How To Create Professional Etsy Policies
Part 1
Tony Hershey, DaySpringCollectible.Etsy.com, provided valuable insight for creating your Etsy policy and information sections.  In the on-line selling biz for a number of years and with Etsy since 2010, Tony is approaching 700 sales on Etsy alone.  He also has 220 reviews with a 5 star average. 

Part 1, of this series covers Shipping and Refunds.  First, let's peek into the unusual, rare and quirky world of DaySpringCollectible.Etsy.com.  With 585 listings, you are sure to find something wonderful. (Listing links follow photos.) 

Rare Czech Pitcher and glasses - $80.00

Antique Marble - German Cloud - $250

USA Mint Olympic Stamps - $19.99
Tony indicated the Return policy is the most important followed by Shipping Information.  I put shipping first, because one always ships, but hopefully will rarely deal with returns. 

SHIPPING INFO - THE BIG 3
  • Turn-around time. 
  • How to charge for shipping 
  • International shipments 
TAT - In the instant society in which we live, people like next day shipping. Tony recommends using the 3-5 day category in your listings. If you can ship faster, you have an impressed buyer. If you can’t, the buyer expected that anyway, so no disappointment.  (Blogger note:  Tony has daily sells and a huge shop inventory.  The 3-5 day process time gives you the opportunity to organize and be more efficient.)

U.S. Shipping Charges - Etsy does not have an embedded shipping calculator, so you will need to know how much to charge for shipping. The major carriers (USPS, FedEx, UPS) have on-line shipping estimate calculators.  A visit to your preferred vendor site, some experimenting with weight, box size and distance will help determine the right amount for you.  Though time consuming research, it is important.  Most sellers use USPS, because it tends to be the cheapest.  

How to determine the right amount of shipping, when you don't yet know where the item is headed?
  • Some Etsy sellers simply select a City and State far away from their home location, and set that amount as their standard shipping rate. 
  • Others take an average of several points across the US. 
It is easy to refund a portion of the shipping if you so choose. But shipping charges aren’t just postage. They include tracking, insurance, packing materials, etc.  Remember to calculate these somewhere in your pricing.

International Shipments? - If you answer yes, read on.  If no, skip ahead to Refunds.  From the Blogger: First step is back to those carrier calculators.  I use, USPS for all International Shipments, because consistently it is the cheapest.  Adding locations in your Etsy shipping profiles by country is easy.  I have about 20 countries listed and then "Everywhere Else."  Countries were selected based on the percentage of total views received by my shop during 2014.  (Not very scientific, but I am growing and learning about international shipments all the time. ) 

Tony says, "Remind international buyers that you have no control over shippers or customs agencies. As a result, shipments can sometimes take weeks or months." Remind them that any value added taxes (VAT), customs fees, or brokerage fees are their responsibility. If you choose to exclude countries that can’t be insured, state that plainly.  Although it is rare, you may be asked to falsify information in order to reduce the customs fees.  That is NOT a practice we endorse or participate in. 

Time for a short commercial break and another look at DaySpringCollectible.etsy.com Tony has some wonderful historic photographs.  Below are a couple with autographs.  Listing links follow.     
President Carter, First Lady and The Pope
signed by The Carters - $345

Signed Marcel Marceau - $79


REFUNDS
This is probably the most important policy section and needs to be done carefully. Make sure you include the following:
  • How long people have to return items. 
  • Whether or not you will refund shipping
  • Language about partial refunds
  • Refunds without return of item

Standard times for return are 7-14 days from receipt of item.  A “No refunds” policy is both useless and detrimental. Customers will be wary and you will lose sales.  Both Paypal and credit card companies can force a refund in certain situations, and savvy customers know it.  

Refund Shipping - Yes, for damaged or lost items.  Otherwise Tony recommends no for either direction, because it is a charge for a service that you cannot recoup. Additionally, one of the primary reasons for return requests is buyer remorse. Allowing such a return is likely enforceable by your buyer.  But they should also participate by absorbing the shipping costs.  The primary exception to this is an obvious mistake on your part, such as an incorrect description. In this case refund both directions, and take the loss. You’ll not make that mistake again, and your buyers will be happy with your customer service. 

Partial Refunds - Tony says, "NO!" And spell it out in your language, as in "No Partial Refunds." Partial refunds set you up for post sale pressure, which is essentially the same as asking for a discount up front. 

Refunds without return of the item to you - Again, Tony says, "No."  Why not just accept a picture of a damaged item item? There are two compelling reasons not to. 
  • The item may be repairable and re-sellable. 
  • Protection from a common scam:  "A person owns a vintage, mass-produced item (not a one-of-a-kind artist-made one). This item gets broken. They search online and buy one just like it from you. Once it arrives safely to them, they contact you claiming it was broken. You ask for a pic, and they take a pic of their original, broken item, not the good one you shipped. They get a refund and a new item…for free."
You can always loosen up your policy depending on the situation.  You may want to state in your policies that you use multiple photos and secret marks to confirm the validity and original condition of returns. Secret marks are advisable, especially on expensive items - some tiny mark, in a hidden location, in a way that will not cause damage. Photos of the secret marks and wear patterns will help you identify your item has been returned.  

Stay turned for Part 2 - Payment and Seller Info, coming soon.  And thanks to Tony Hershey of DaySpringCollectible.etsy.com for his contributions to this article.  

By the way, Tony has his wares at: Top of the Class Antique Show, at Bone Student Center at Illinois State University in Normal, Illinois this weekend. If you are from the area, go see Tony from now until 4 pm Sunday, Feb 1, 2015. 

Wednesday, January 21, 2015


Stella Erwin's™

Scenes from last Saturday's backyard bird feeder photo shoot. The Cardinals are frequent visitors to Stella Erwin's™ table. These photos were taken in anticipation of a magazine article featuring The Stella Erwin Feeder™available at StellaErwins.etsy.com. These pieces (blue $79 and sunburst $64) would look lovely in any backyard and clearly attract birds.  

Stay tuned more more about the magazine article, coming later this year.  Links to listings follow photos.

Photos by: Justin Jansen, © 2015 Stella Erwin's™.  All Rights Reserved.

Female Cardinal

Male Cardinal

Male Cardinal striking a pose

He's either coming or going

Male Cardinal 
Female Cardinal and Carolina Chickadee sharing a table
 https://www.etsy.com/listing/211234967/blue-glass-vintage-hanging-bird-feeder?ref=shop_home_active_2

https://www.etsy.com/listing/218843355/sunburst-glass-bird-bath-hobnail-hanging?ref=shop_home_active_3

Tuesday, January 20, 2015

Stella Erwin's™ 

Just about anyone you ask or anything you read about being successful on Etsy, emphasizes the importance of great photos.  Picking up from the last post and keeping with the "how to take great photos" theme, Kevin of OhioPicker.etsy.com shared some of his photos tips with Stella Erwin's™. To showcase his great photos below are 2 items from his shop.  Listing links follow.

Wooden Drawer Shadow Box - $78
$36 - Burlington Sandblast pipe
https://www.etsy.com/listing/218357778/burlington-sandblast-vintage-smoking?ref=shop_home_active_1&ga_search_query=pipe

https://www.etsy.com/listing/218387914/wooden-drawer-shadow-box?ref=shop_home_active_3

To begin says Kevin - "Use the Program feature on your camera and properly adjust the white balance & exposure settings. This may take some practice and lots of sample photos to get the perfect settings for your lighting conditions."

  • Set up a small area for your indoor photo shoots. 
  • Use a white or neutral background. If you don’t like a stark white background just make sure your background is not too dark.  My wife uses old gray colored barn wood and an old crusty white painted ceiling tin. Just about anything neutral will work. (Blogger Note: The photo in the listing below is sitting on the barn wood with the white ceiling tin behind.) 

Excess Baggage Print - $16
https://www.etsy.com/listing/66746610/excess-baggage-1906-print-howard?ref=shop_home_active_24

  • Make sure there isn’t an overwhelming pattern in the background. You want your item to be the main focus, not the background.
    • With a little luck you can get a huge white vinyl pull down (rolled type) window shade or an old vintage projector screen to use. They are easy to hang, clean & store. They are also cheap usually under 10 bucks. 
    • For smaller items painted boards or poster board work well. If you paint a backdrop make sure you use satin or flat, not a gloss paint. 
    • Large paper roll backdrops are a pain, they tear and get dirty. 
Blogger Note: - More examples of Ohio Pickers fantastic photos
Steampunk radio parts $48
$28 - Vintage Keys


A word or 2 about light bulbs:
  • Use correct light bulb color spectrum 5,000 – 6,500K (kelvin rating).  6,500K is the best. The lower the spectrum rating the more yellow your photos will look. Do not use incandescent bulbs as you will be fighting with a yellow tint in your photos. You can buy 6500K Daylight GE energy smart compact fluorescent bulbs for a few dollars each. Make sure you get the 26 watt (100 watt replacement or equivalent) bulbs. If the boxes are not marked with the spectrum most of the time the bulbs are marked on the base. They may be a little hard to find as most of the bulbs sold are lower (softer light) spectrum bulbs. 6500K is the key.
  • I use 6 bulbs total. Each bulb is installed in a work light reflector that can be purchased at any hardware store (about 10 dollars). 
  • don't use the camera flash, soft white incandescent bulbs or "auto" feature on your camera.  
    • the flash will overexpose most photos and wash out the image
    • incandescent light bulbs will give your photo a yellow tint
    • auto feature will often make your photo look dark
OhioPicker.etsy.com is a successful Etsy shop, with over 2600 sales, 8150 admirers and 1066 reviews - all of that since 2010.  

Visit OhioPicker.etsy.com, take a look at the fabulous photo listings and spend some time shopping through a great eclectic mix of history.   


Thursday, January 8, 2015


presents
How to build a light box - cheap!!

Ever wonder how some Etsy shops have the greatest photos, with sharpness, detail and no background noise?  I pay to have "The Stella Erwin Feeder™" photos done.

Joanne, from PlantsNStuff.etsy.com, built a wonderful light box, that contributes to photos like these from some of her Etsy shop listings.

Links to each of these listings follow below the photos.
Galvanized Water Can - $38.00
Mod Necklace - $9.25


Green Cat Eye Marbles - $11.50

https://www.etsy.com/listing/187963426/galvanized-watering-can-bull-vintage?ref=shop_home_active_1&ga_search_query=watering%2Bcan

https://www.etsy.com/listing/162820444/mod-necklace-60s-fashion-retro-groovy?ref=shop_home_active_21

https://www.etsy.com/listing/188086966/green-milky-swirl-cat-eye-marbles?ref=shop_home_active_4&ga_search_query=marbles


How did she do it?  She started with a white styrofoam box, added lighting and paper, set up her camera on a tripod and voila!!  A photo of Joanne's box follows along with items you will need.


The styrofoam box, which you can find FREE from a local vet, doctor, hospital or medical supply store, has inside dimensions of:

  • 15" front to back
  • 17" high
  • 21" wide

Joanne added clamp on lights from Home Depot for under $10 each and poster board for the inside at about $1 per sheet.  She bought the cheapest point and shoot camera that would work with the 80's aluminum tripod pictured.  The legs on her tripod extend for more height if a top shot is required.

Joanne of PlantsNStuff.etsy.com, is from Maine.  Because of the limited days of light and really cold temps, taking pictures inside is a necessity.  She has over 500 fabulous items in her shop and adds listings daily.

Does it work?  You bet.  Joanne has been selling on Etsy for over 3 years.  She has sold more than 850 items, has 340 - 5 STAR reviews and over 1100 admirers.  Go check out her fantastic array of Fresh Picked Maine Vintage and Antiques.  Just click this link:  PlantsNStuff.etsy.com.


Check back here for more about photos and lighting.  An article about tips and tricks for good photos including the right lamp bulbs to buy is coming soon.

And check out the new 2015 Stella Erwin Feeder™ line at StellaErwins.Etsy.com


© 2015 Stella Erwin's.  All Rights Reserved.


Sunday, November 2, 2014

PACKING AND SHIPPING GLASS


Just about everything sold and shipped from Stella Erwin's is glass and almost always arrives intact. Last April, two shipments arrived at their destinations broken.  Two out of hundreds of shipments isn't many, but for the customer that's 100% of what they ordered - an unacceptable standard for Stella Erwin's.   

After gathering feedback from the customers about the packing, talking to my Etsy pals, visiting Youtube, and researching museum packing standards, I made packing process improvements.  With holiday shipping upon us, this feels like a good time to share my learnings and step by step process.  


Packing and Shipping supplies 
         List of items needed
2 boxes - 1 fits inside the other
Tissue
Colorful duct tape
Cushioning foam
Bubble wrap - new
Bracing materials
Filling materials
Shipping tape for boxes


Step 1 - Fill glass with tissue or some other soft material.  This helps prevent hairline cracks.  I use facial tissue, but it can be tissue paper or some other material.  Don't pack it down.

Step 2 - Wrap piece with cushioning foam and secure with colorful duct tape.  The duct tape makes unwrapping much easier because it is so visible.

Step 3 - Now wrap the piece with NEW bubble wrap and secure with duct tape.

How much?  With this piece I used cushioning foam 2 times around, changed direction and then 2 more times.  The bubble wrap went around enough times, changing directions, that the edge of the glass could not be felt.

Cushioning Wrap
Bubble Wrap


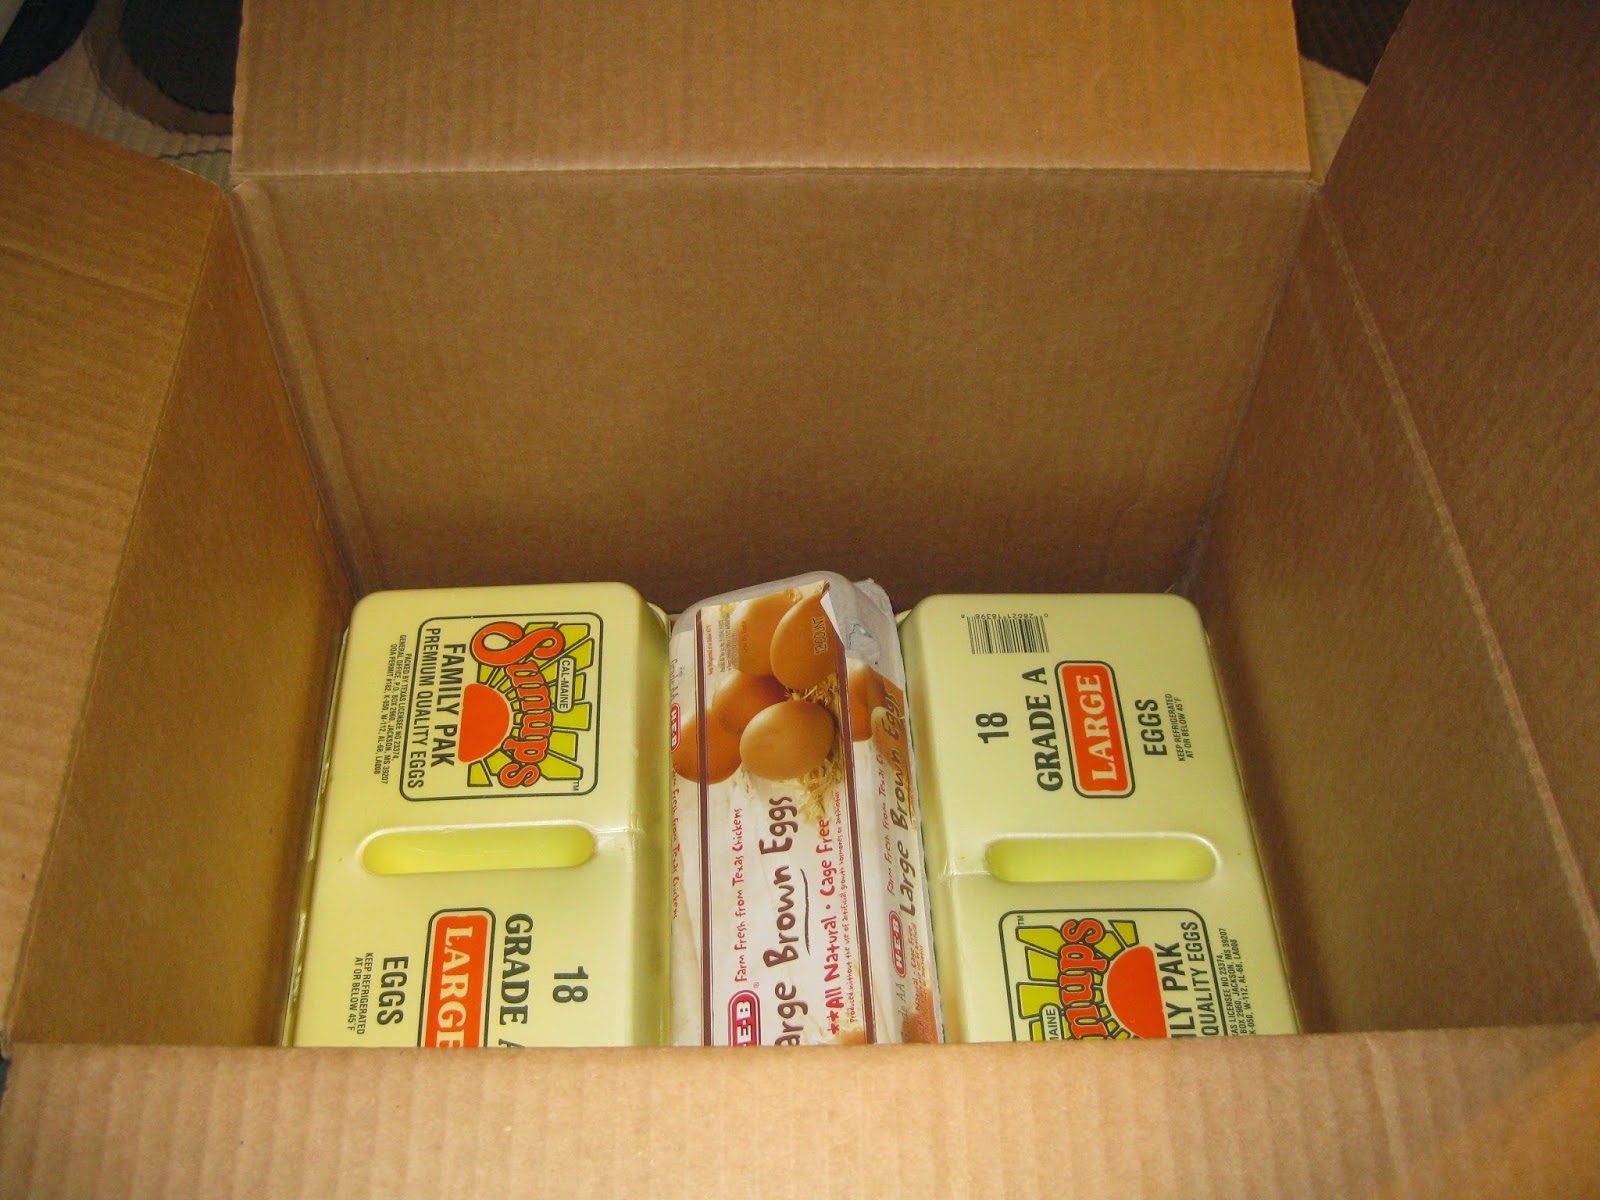
Step 4 - Pack the bundle into the first box, using bracing and filling materials on all 6 sides.  All kinds of things can be used to brace and fill the box including:  egg cartons, styrofoam blocks, peanuts, paper. The idea is for the piece to be held in place with materials that have a little give to them.  I try to recycle materials, because of expense and sustainability.


This one began with egg cartons on the bottom and styrofoam blocks around the sides.  The top was filled with packing paper and taped closed.   No need to go crazy taping this box, as it is going into another box for shipping.

Step 5 - Pack box into larger box.  The bottom of this box is lined with styrofoam blocks (I happen to have a lot of those at the moment.)  The sides are filled with blocks, egg cartons, packing cushions and a wrapped piece of foam.  The top was filled with more cushions.  This whole part could be done with packing peanuts or other materials, as long as there is cushioning on all six sides.   Tape the box closed, slap a couple of Fragile stickers on and it is ready to ship.

Box in a Box

 How to get free packing materials

  • Ask your friends to save things for you - like egg cartons
  • Ask small businesses in your area to save things for you and have a regular scheduled pick up day and time
  • Styrofoam blocks - mine were originally used to ship computer products.  Check around for sources.  Most companies have green initiatives and would love to recycle as long as you make it make it easy for them.  
  • Dumpster dive  :) 


Monday, September 15, 2014

STELLA ERWIN'S
StellaErwins.etsy.com


Stirring Up Ghosts

So honored to be featured in this most recent post from:  http://stirringupghosts.blogspot.com/

Link to the article follows and features 4 Etsy shops, with great gift ideas.  

Saturday, August 30, 2014

LABOR DAY SALE
Everything 30% off 
Ends Monday Sept 1, 6:00 pm, CST


This covered feeder normally runs $109 and is on sale for $76.30.  Link to listing follows: https://www.etsy.com/listing/196925107/labor-day-sale-pink-glass-covered-bird?ref=shop_home_active_8

Blues, so popular, are incredible values for these few days.  These 2, normally $79 and $69, now $55.30 and $48.30.  
https://www.etsy.com/listing/196640660/labor-day-sale-blue-glass-bird-feeder?ref=shop_home_active_6
https://www.etsy.com/listing/176624993/labor-day-sale-blue-glass-garden-bird?ref=shop_home_active_15


All colors, styles are on sale, along with glass wind chimes and tumbled glass.  Even the On Sale Shop Section listings are 30% off!


Check it out - StellaErwins.etsy.com

Thursday, August 28, 2014

DIY - MAKE YOUR OWN SEA GLASS (con't)

Sea glass, beach glass, ocean glass - an amazing find for beach combers all over the world. It's so romantic to imagine glass accidentally falling into an ocean or lake, gently tumbled by water, sand, salt and time, then finally transformed into a beautiful smooth beach treasure.  Once collected it is seen in jewelry, mosaics, vases and scattered in gardens and on table tops......


Tumbled glass in these floral arrangements add subtle color and anchor flowers.  Simply add water and flowers to vase and gently drop in glass pieces around the stems.  


pink tumbled glass

blue and clear tumbled glass 


For more tumbled sea glass, visit the tumbled glass section in Stella Erwins: https://www.etsy.com/shop/StellaErwins?section_id=15547997&ref=shopsection_leftnav_8


Best,
Julie Jansen
Stella Erwin's
StellaErwins.etsy.com

Tuesday, August 26, 2014

DIY - MAKE YOUR OWN SEA GLASS

Sea glass, beach glass, ocean glass - an amazing find for beach combers all over the world. It's so romantic to imagine glass accidentally falling into an ocean or lake, gently tumbled by water, sand, salt and time, then finally transformed into a beautiful smooth beach treasure.  Once collected it is seen in jewelry, mosaics, vases and scattered in gardens and on table tops......

What do you do, if you want beach glass, don't live near a shore or have the time to spend collecting it? Read on for DIY - Make Your Own Sea Glass from: StellaErwins.etsy.com.

Broken glass, by accident, smashed intentionally or (my worst nightmare), shipped vintage pieces arrive shattered, can be frustrating and heart breaking.  But the life of a broken piece of glass does NOT have to end in the landfill.  Let's tumble!!


The tumbled glass shown above is from vintage glass light shades that were broken during shipment. (Check back for Stella's Shipping Glass Properly article - coming soon.)

It is so easy to make your own beach glass, but you do need a few things.  A rock or glass tumbler is the most important and a bit of an investment.  After researching brands and reading reviews, I settled on a Lortone with dual drums.  I was able to find the right one for my usage for about $120, including shipping, on Amazon.  Am pleased with the performance even after 1000s of hours.
my faithful partner in tumbling
Once you decide to make the tumbler plunge, the fun part begins.  Here's what you will need:

  • Glass
  • Hammer
  • Paper or thick nylon bags - the denser the better. 
  • Sand
  • Water
Bag selection is important and the bag in this photo is my nylon bag of choice.  Actually you will need two of these.

*****Commercial break. I have a lot of bird feeders and this 35lb mix of seed from Tractor Supply is $9.99.  It is a lovely mix of small seeds, sunflower seeds and a little bit of corn. By far the best value I have found. ******

You can also use multiple brown grocery bags, pet food bags, Sephora bags, or anything thick and roomy that you have 2 or 3 of. 

Step 1 - fill your bag about 1/4-1/3 full with glass.  Fold it over once or twice.  Put that bag in another bag and fold it over.  PUT ON YOUR SAFETY GLASSES.

Step 2 - take your hammer and smash the bag multiple times.  Flip the bag over and sling that hammer some more.  (I told you this was fun.)

Step 3 -  Start unfolding the bags and carefully remove the outer bag.  At this point, I pour the glass into a deep plastic container with a lid.  Dispose of the bags, which will have some glass shards inside.  

Your glass pieces are ready for tumbling.

Fill the drum of your tumbler about 1/2 way with sand.  (It's about 300 miles from my house to the beach or about 2 miles to Home Depot where play sand is less that $5 for 50 lbs.)  Put as much glass as you want leaving enough room at the top to close the drum.  I pack mine pretty full.  Fill the remainder of the drum with water, close the drum per tumbler instructions.  Place drum on tumbler, plug it in and let it run for about 2 days.  Once it's done, rinse the glass and voila, you now have repurposed glass, tumbled and ready to use. 

Couple of tips 
  • Put the tumbler somewhere out of the way.  A garage is perfect.  
  • I have tumbled glass anywhere from 36 hours to 3 days and it comes out about the same. 
  • If your glass is painted, expect the sand to remove a lot of the paint.  Most of the glass will retain some color.  If the glass is colored through and through it won't lose much if any color.  
The red and dark pink glass in the photo below have color all the way through.  The light pink glass was painted on both sides and as you can see retained a lot of color.  The blue glass photo above is also glass from painted pieces.  

  • You can reuse the sand/water in the tumbler.  Just add more sand to the half way mark and repeat instructions above.  
What do you do with your hand tumbled sea glass?  I decorate with it, sell it to artists in bulk through Etsy and use the larger pieces to make glass wind chimes. A link to an earlier DIY article about making those chimes follows. (http://stellaerwins.blogspot.com/2014/08/diy-glass-wind-chimes-stellaerwins.html).  

The next link will take you to the tumbled glass section of my Etsy shop, if you want to see some more examples.  All glass was tumbled by the method above in the tumbler shown in this article.  

Good luck.  

Julie Jansen
Stella Erwin's